DIY: Window Coffee Table
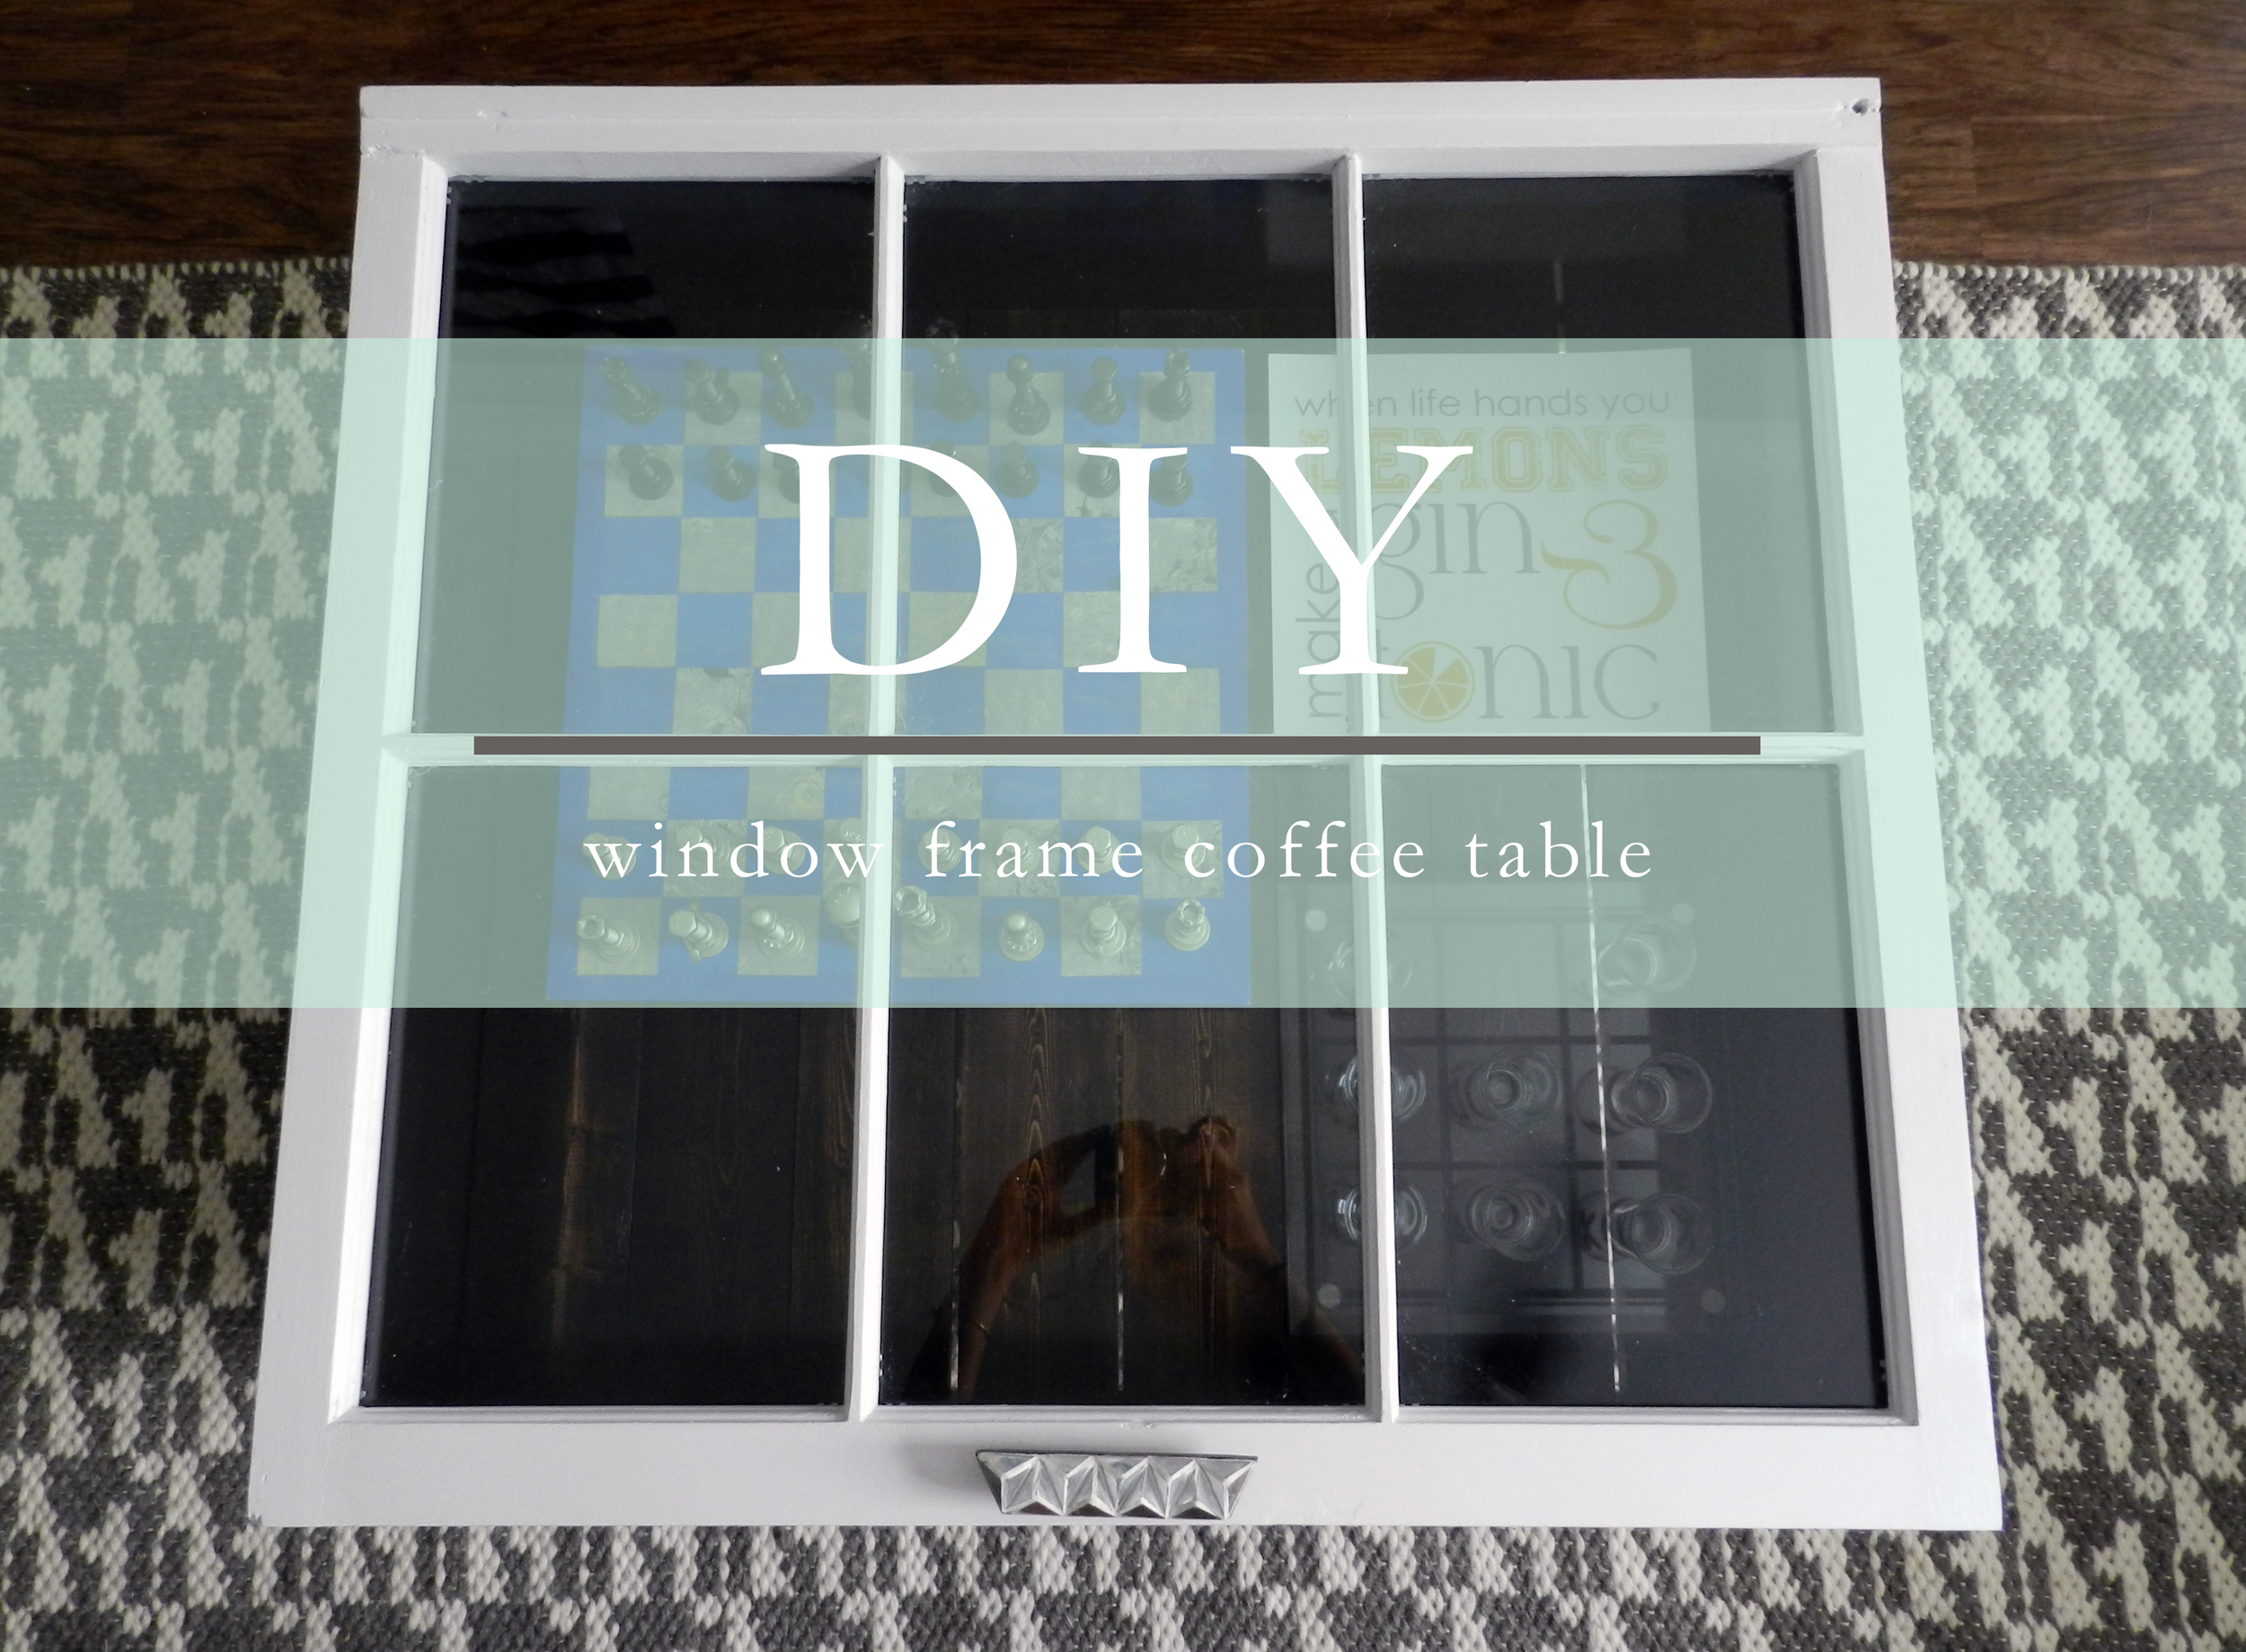
Our apartment is finally to a point where I am comfortable photographing pieces of it; emphasis on the pieces. For the past couple months Jas and I have been busting our tails on the weekends trying to help my parents get the house "show worthy" for their big move to Cali. Why yes, I am a little jealous. But I digress, with all our effort going towards their house our space has been a little neglected. But we are still making progress! I promised an Instagram follower and friend a while ago that I would give more details on how Jas and I made our beautiful window frame coffee table. So without further adieu...
Before every good project begins, there is always some inspiration. Thank you Pinterest for always adding these ideas in my head. HERE are just a couple Jas + I looked at before getting started.
And it's always helpful to know in advance what you need before beginning so after some trial and error, here is everything you're going to need (*there are a couple of things listed, but not shown listed you may or may not need depending on the condition of your frame so be sure to plan ahead):
 Thrifted Window Frame // Wood (The Home Depot) // Anthropologie Chandelier Knob // Long Hinge // Ikea Mod Legs // Annie Sloan Chalk Paint // Paint Stripper* // Putty Knife* // Extra Glass Panes (found at local glass shop) // Sandpaper
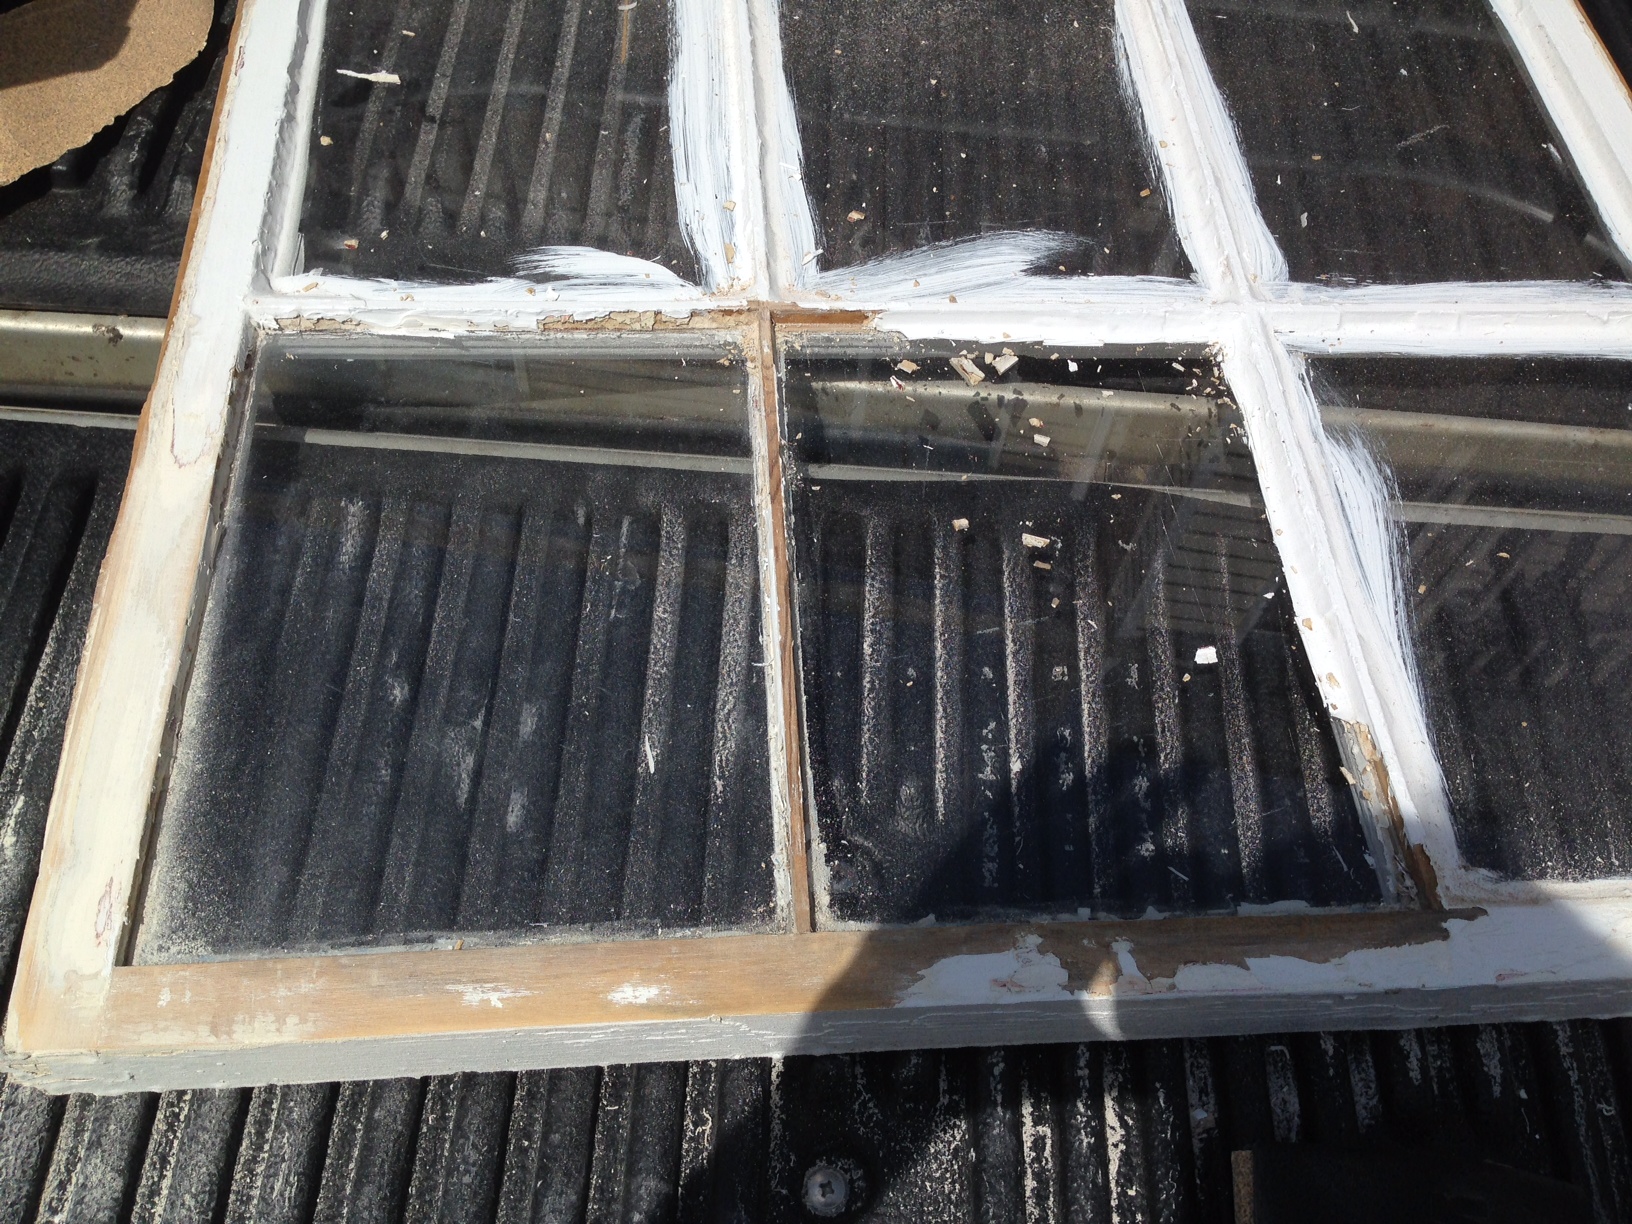
1. Find the frame - Be sure you pick out one that is larger, or at least large enough for a coffee table in your living space. The best place to find the frame is a junk yard, thrift store or somewhere with used frames {$7.00}. Don't worry if the frame is a little dirty to begin with; you can clean up the wood using sand paper, and if its really bad, a spray on paint stripper and a putty knife for scraping the paint off and razor blades for the panes. This part honestly was the most time consuming part of this project. Depending on the condition of your frame it might take some time (and a lot of patience) to strip all the previous years' worth of wear off. If your frame doesn't have glass panels, don't worry, your local glass shop will have panes {$2.50 e.} for inexpensive.

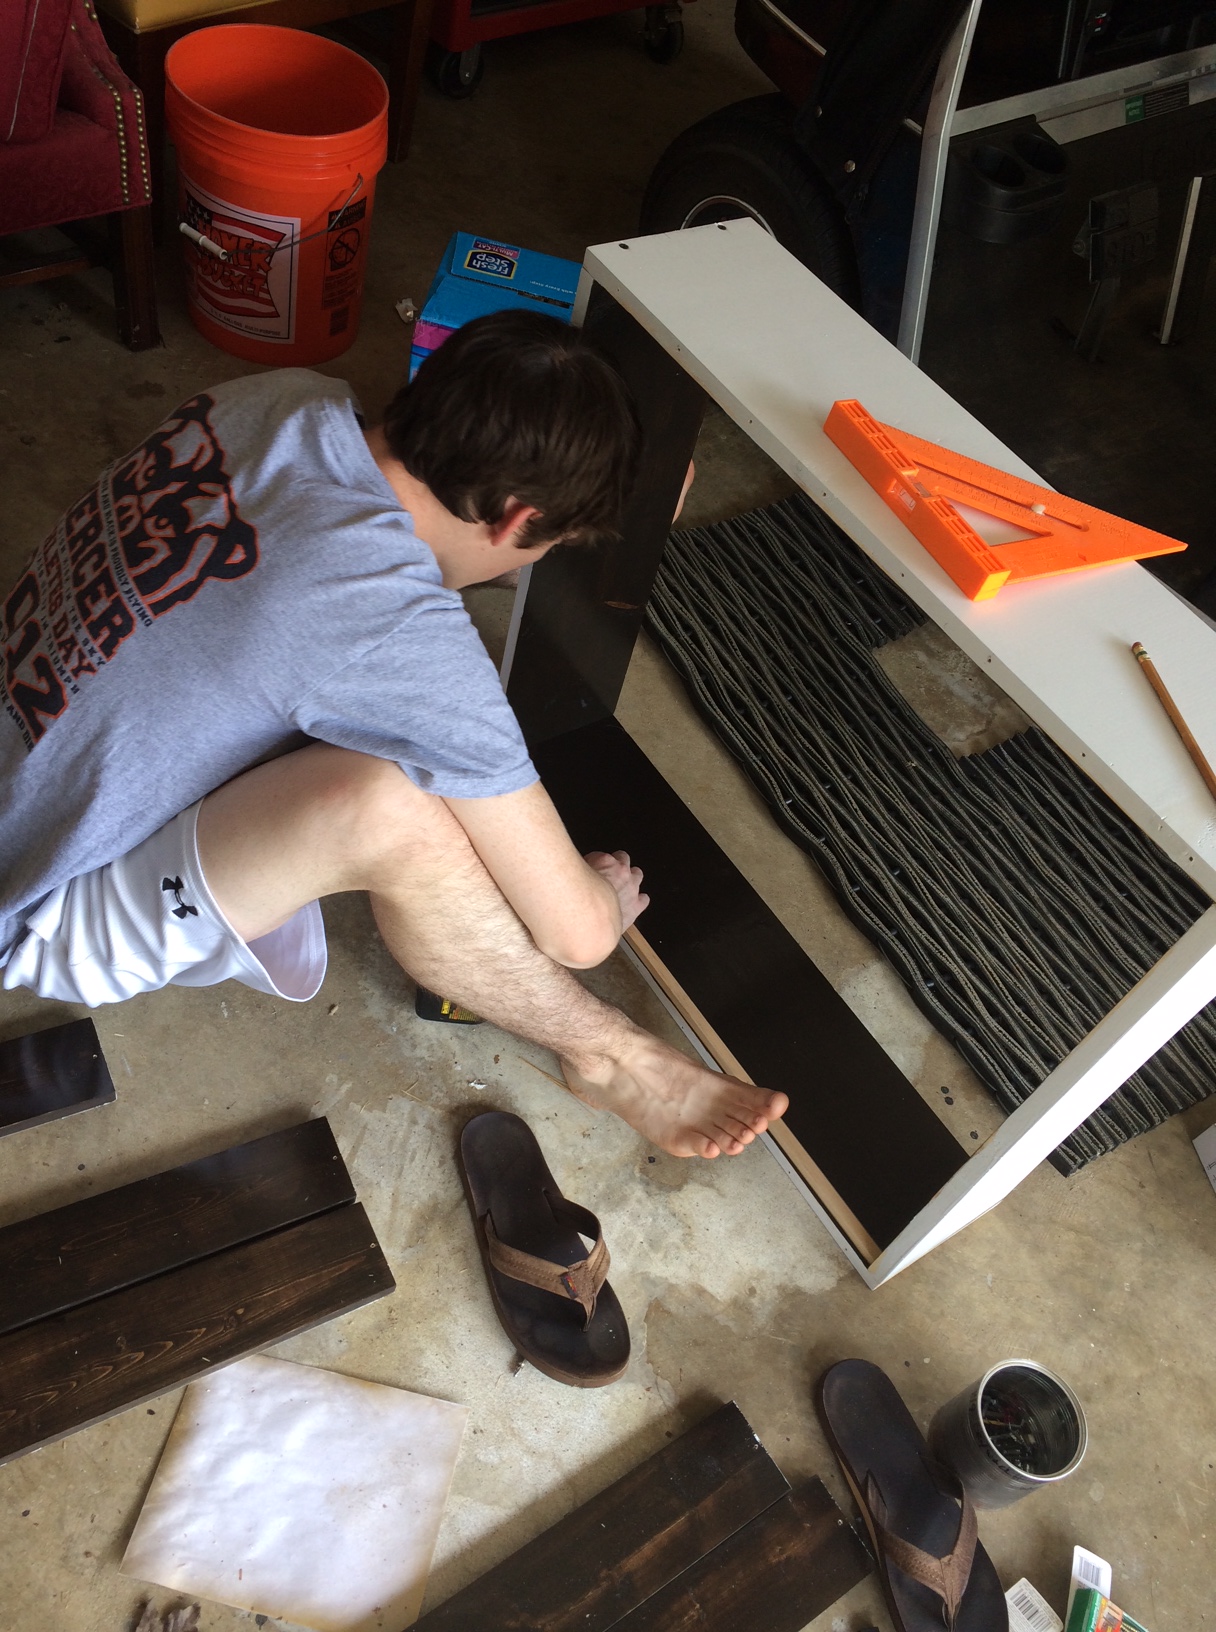
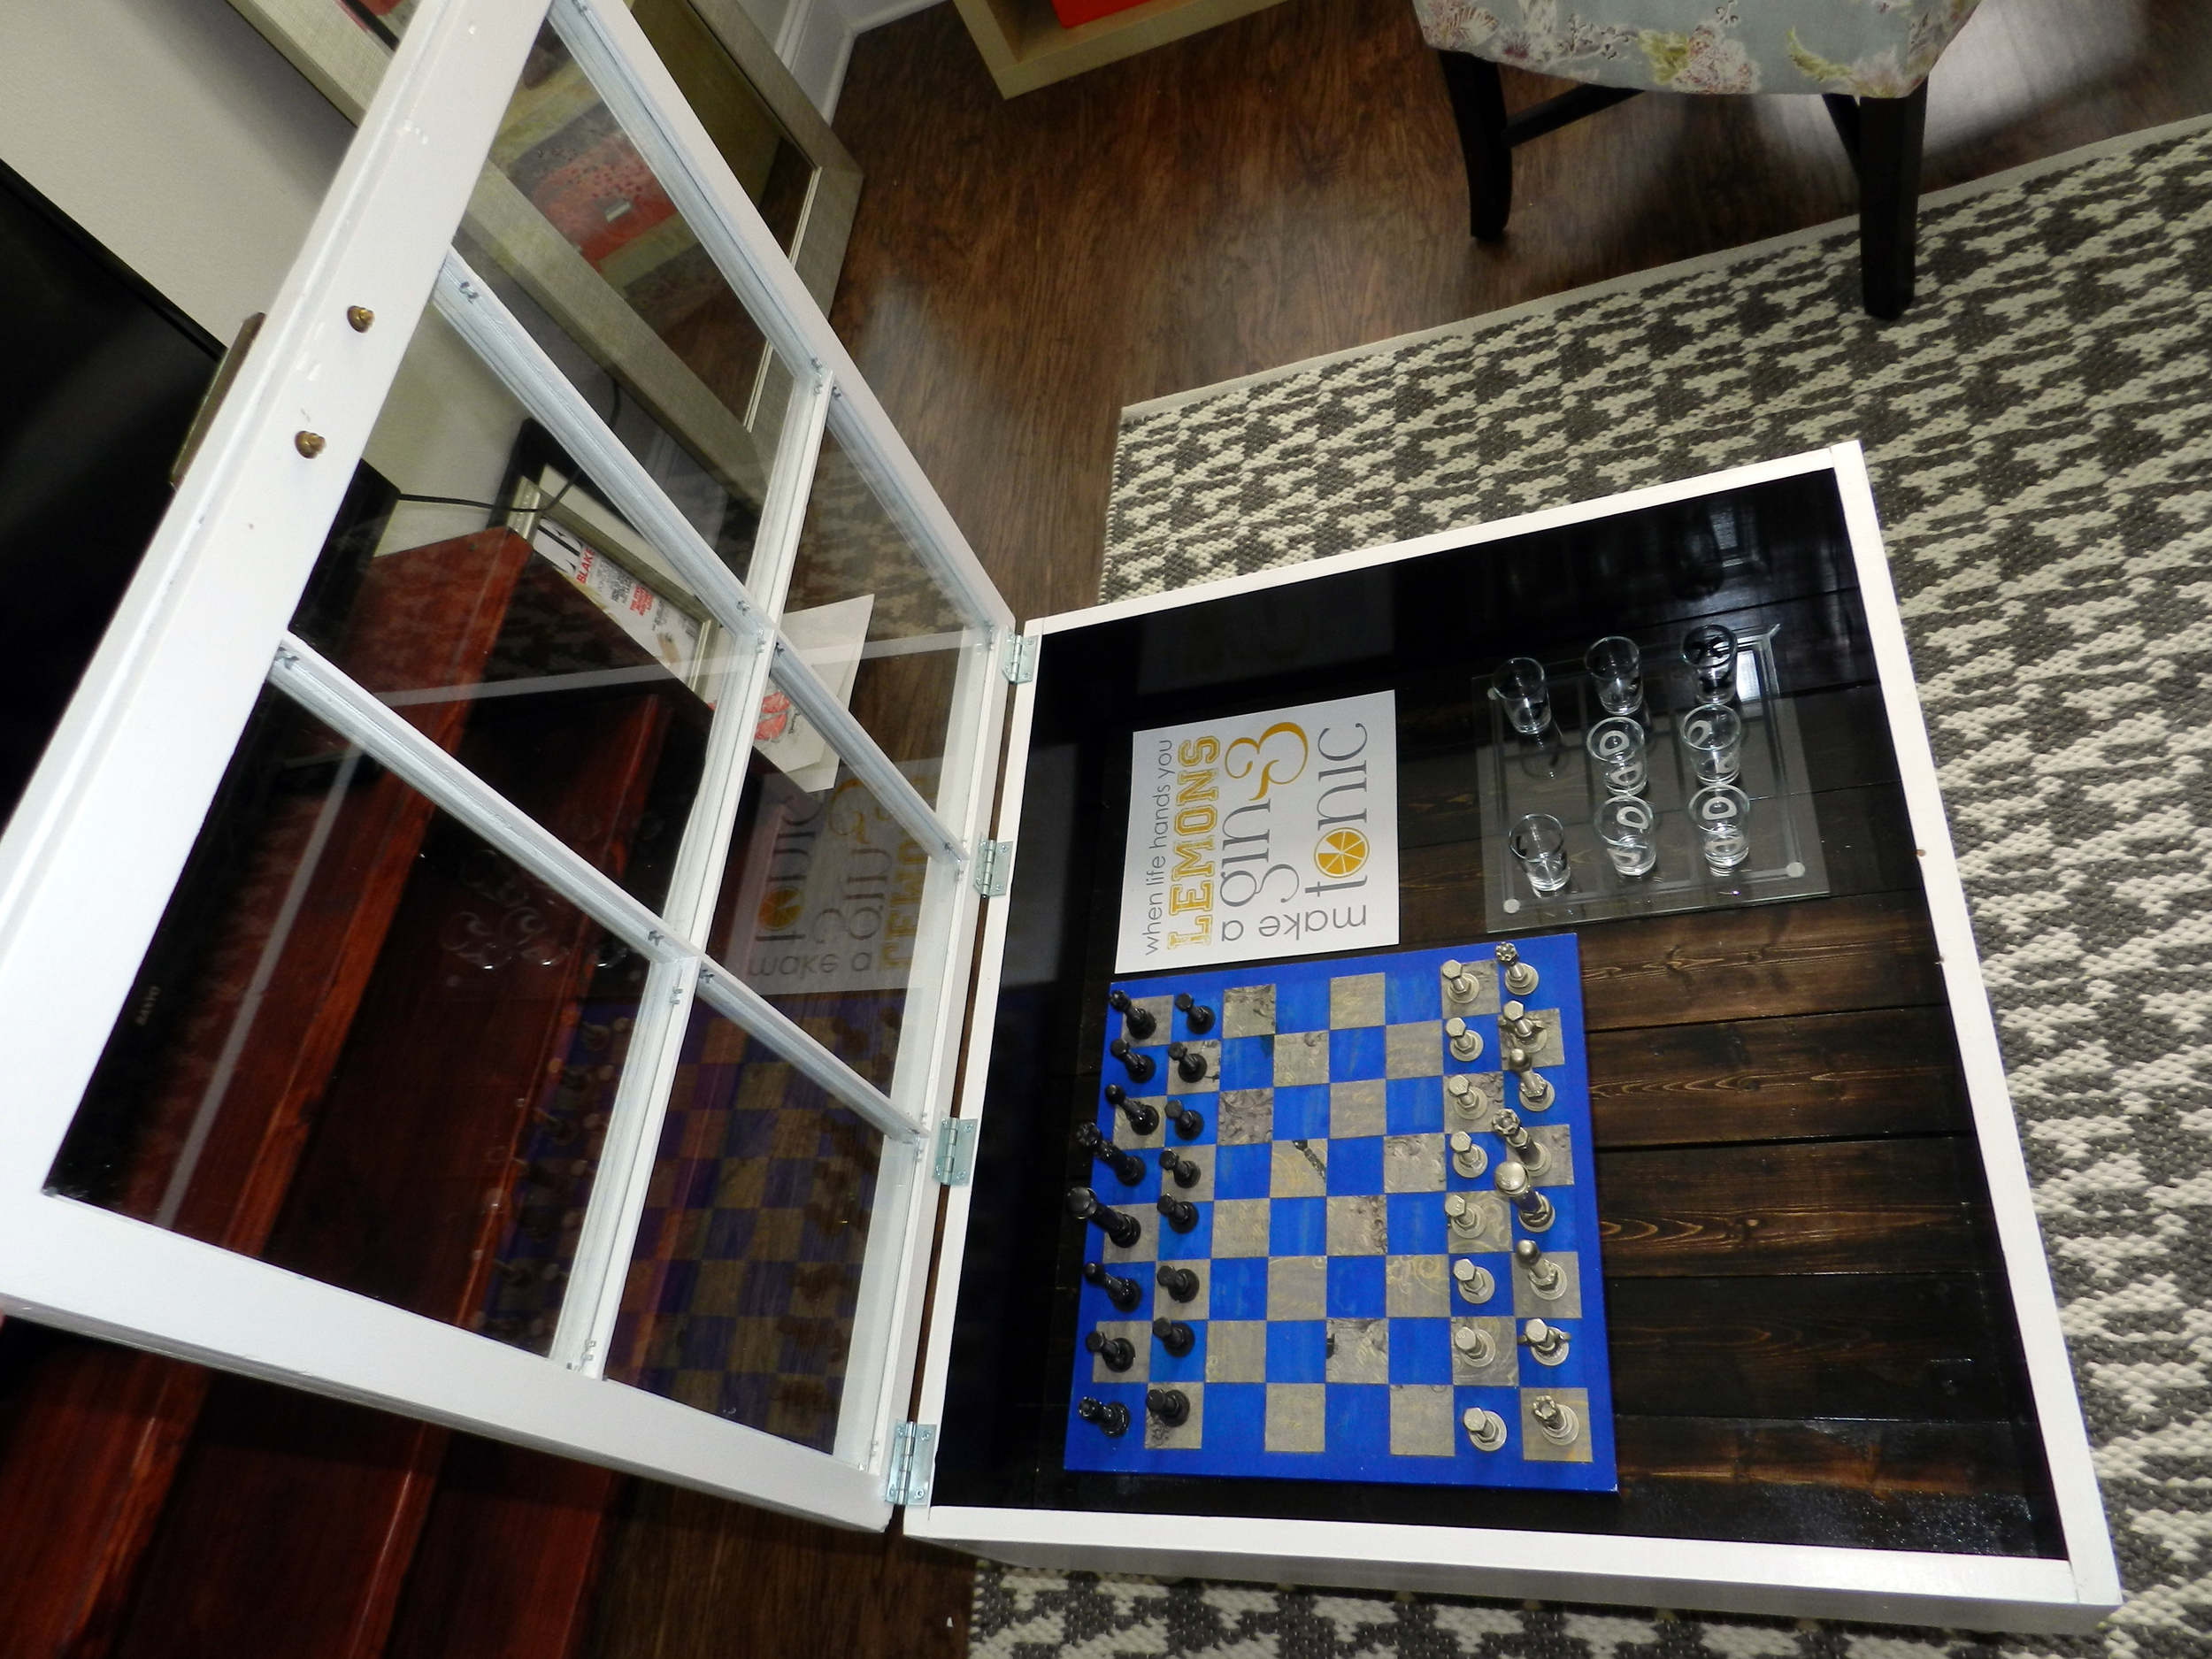
2. Build the box - Jas + I made our coffee table with the lid resting on top. We liked the idea of it being lifted with fun things peeking from inside. But I have also seen that it could be done where the lid fits snug inside the box. Both ways look great so don't be afraid of which to choose! We also chose to rest the inner boards along runners inside the box, so instead of having screws all along the outside holding in perfectly sized planks, ours lay across the bottom and are free to be removed during transit. If you don't have a saw, The Home Depot has got you covered! They can cut your wood for you for a small fee. Thankfully, we were able to borrow my dad's while we worked on this project. Wood {$35.00}.
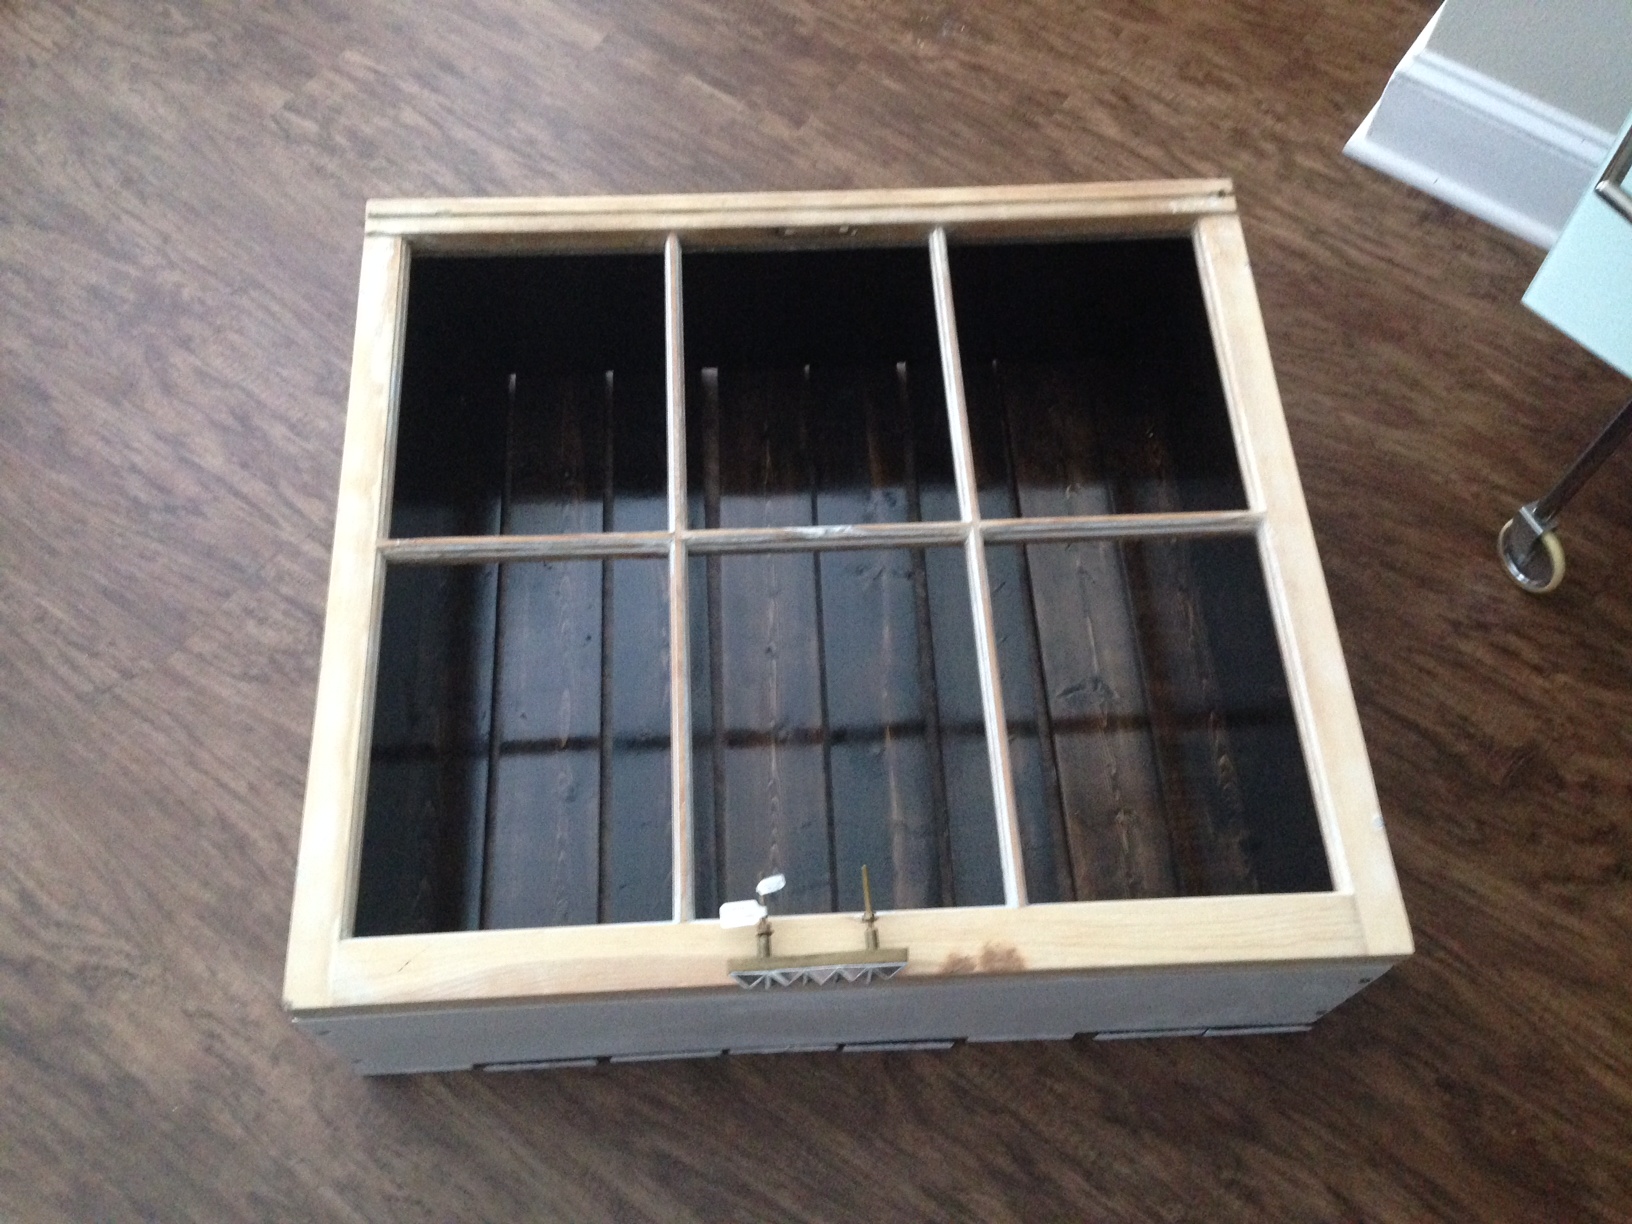
3. Paint! - Have you used chalk paint before?! It's great! The finish is so sleek and simple, with a slight matte finish {$15.00}. Of course you can always use Bher or Glidden with an eggshell finish. A coffee table like this doesn't need to be super shiny. I did 2 coats on the entire box exterior of the box then stained the inside and planks. Sanding between each layer or stain and paint allows for a smoother, more professional finish. And don't forget to clear coat (if desired).
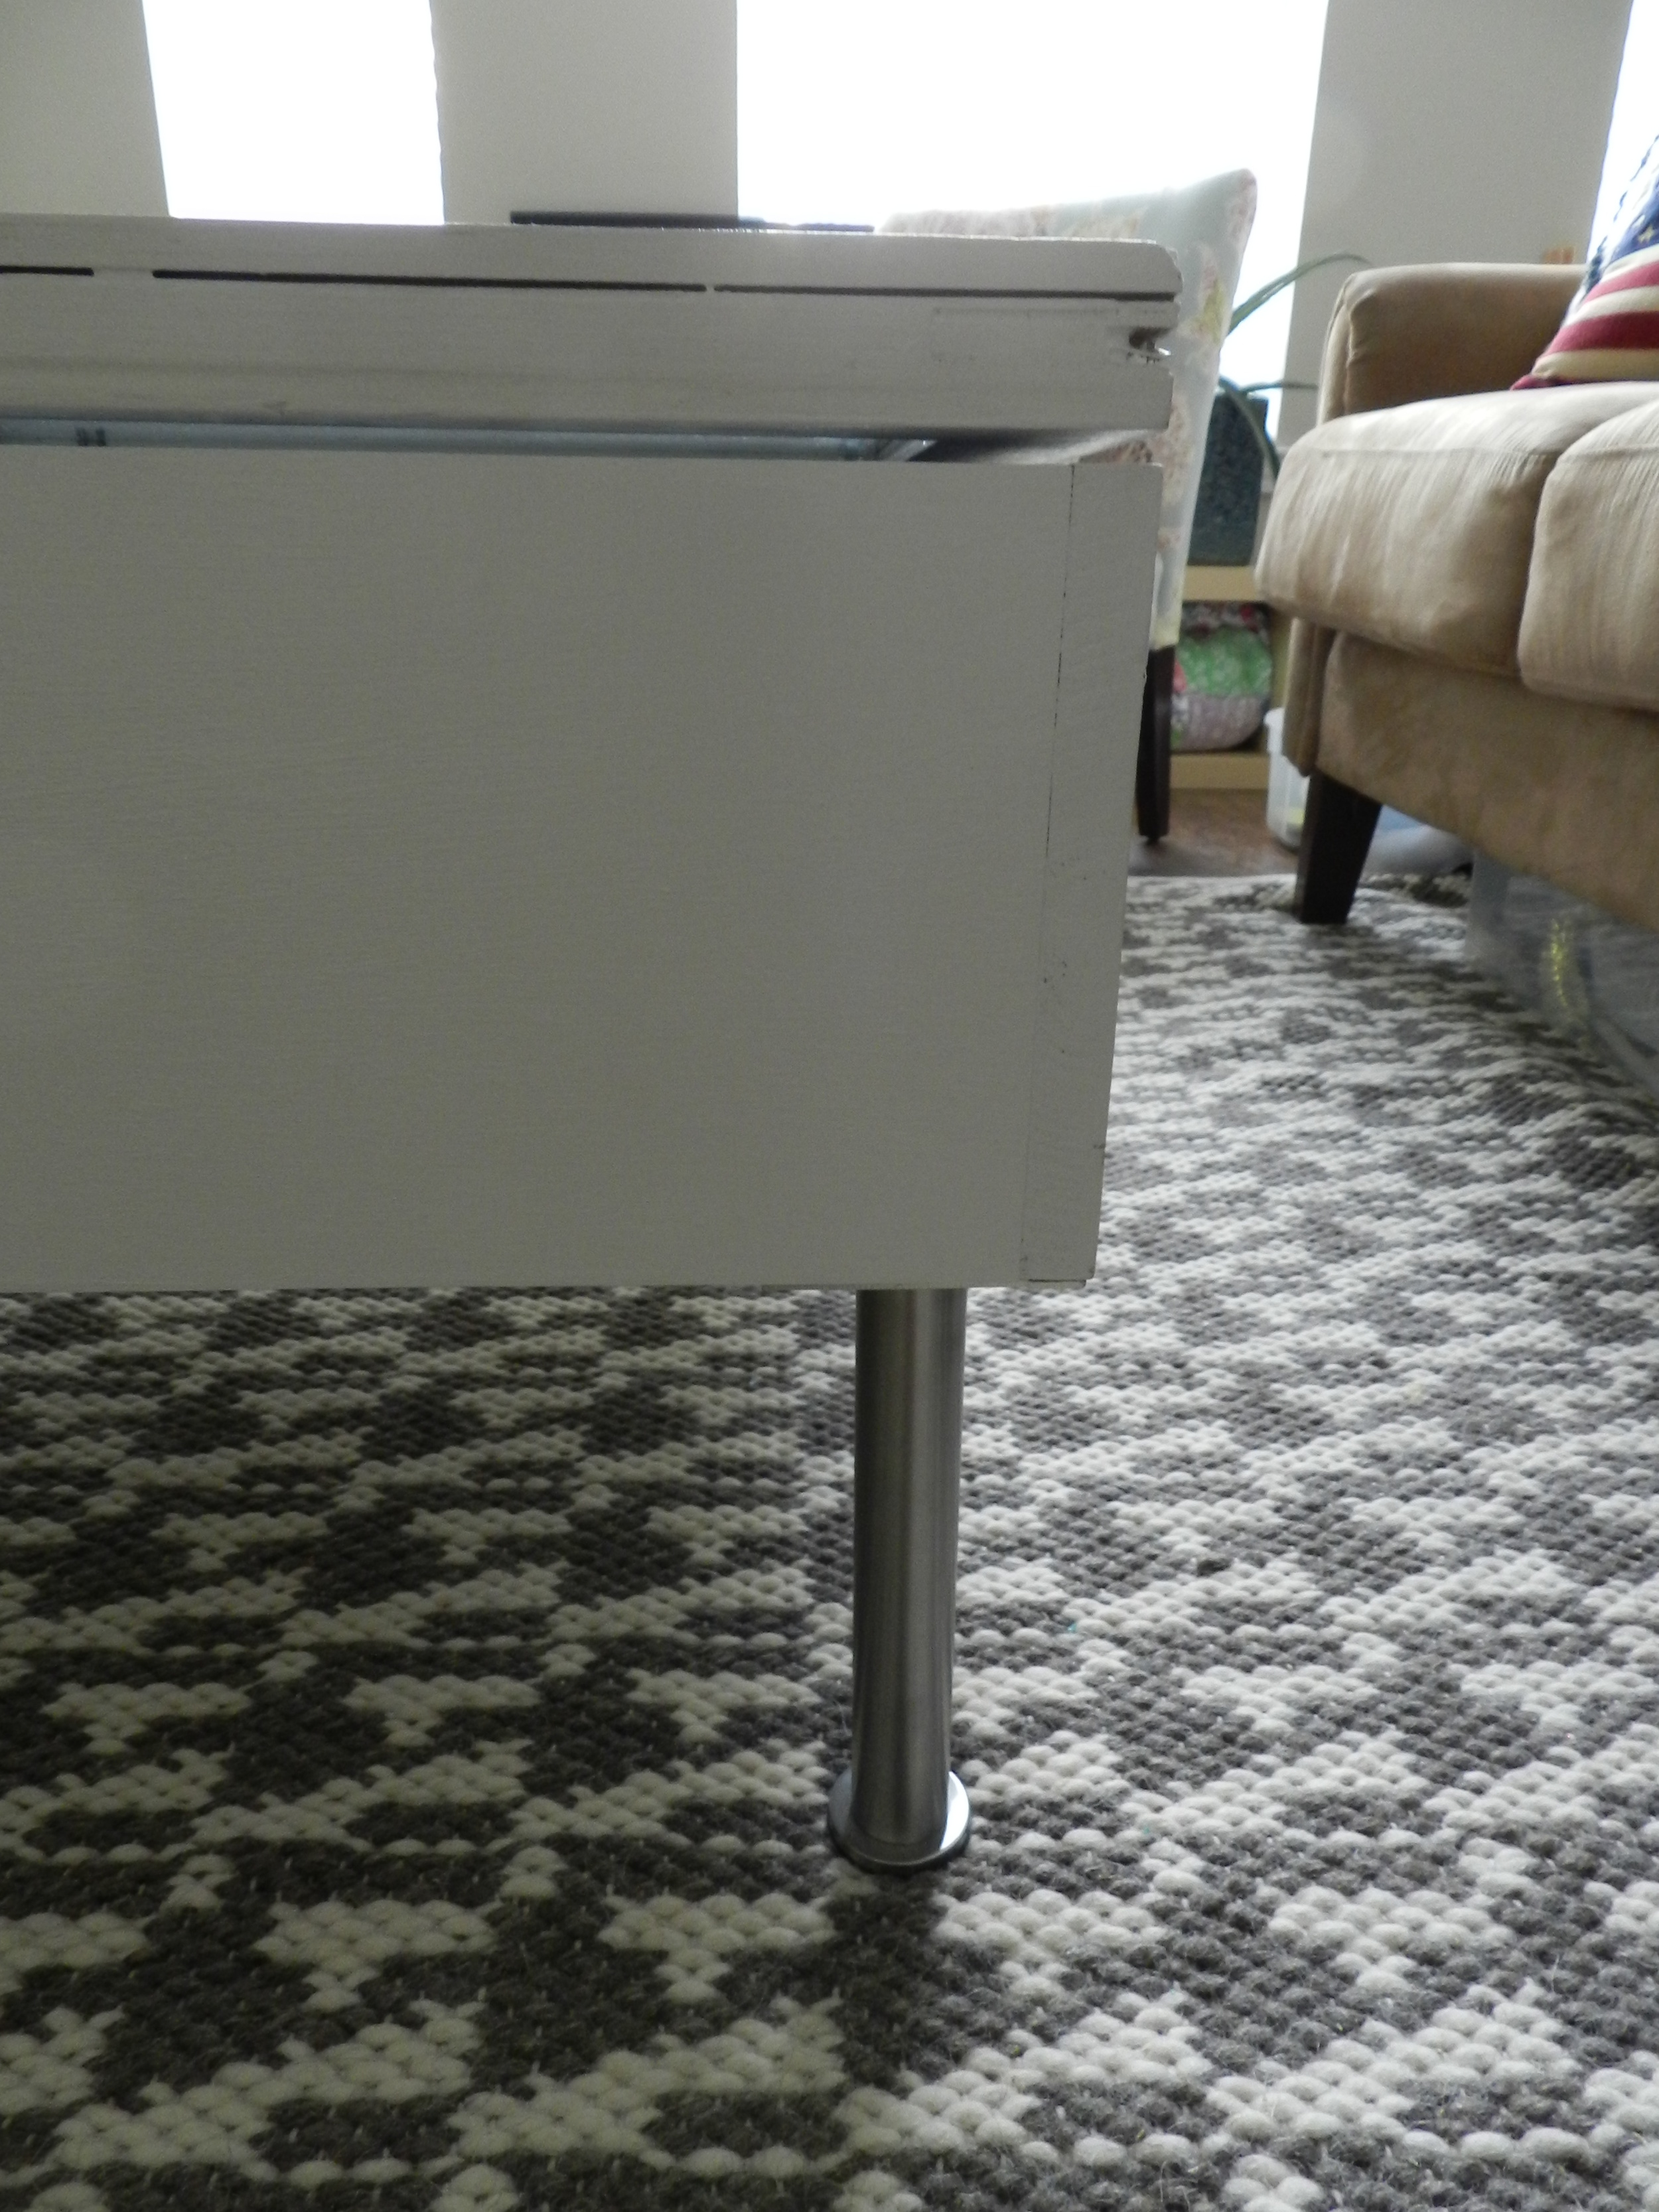
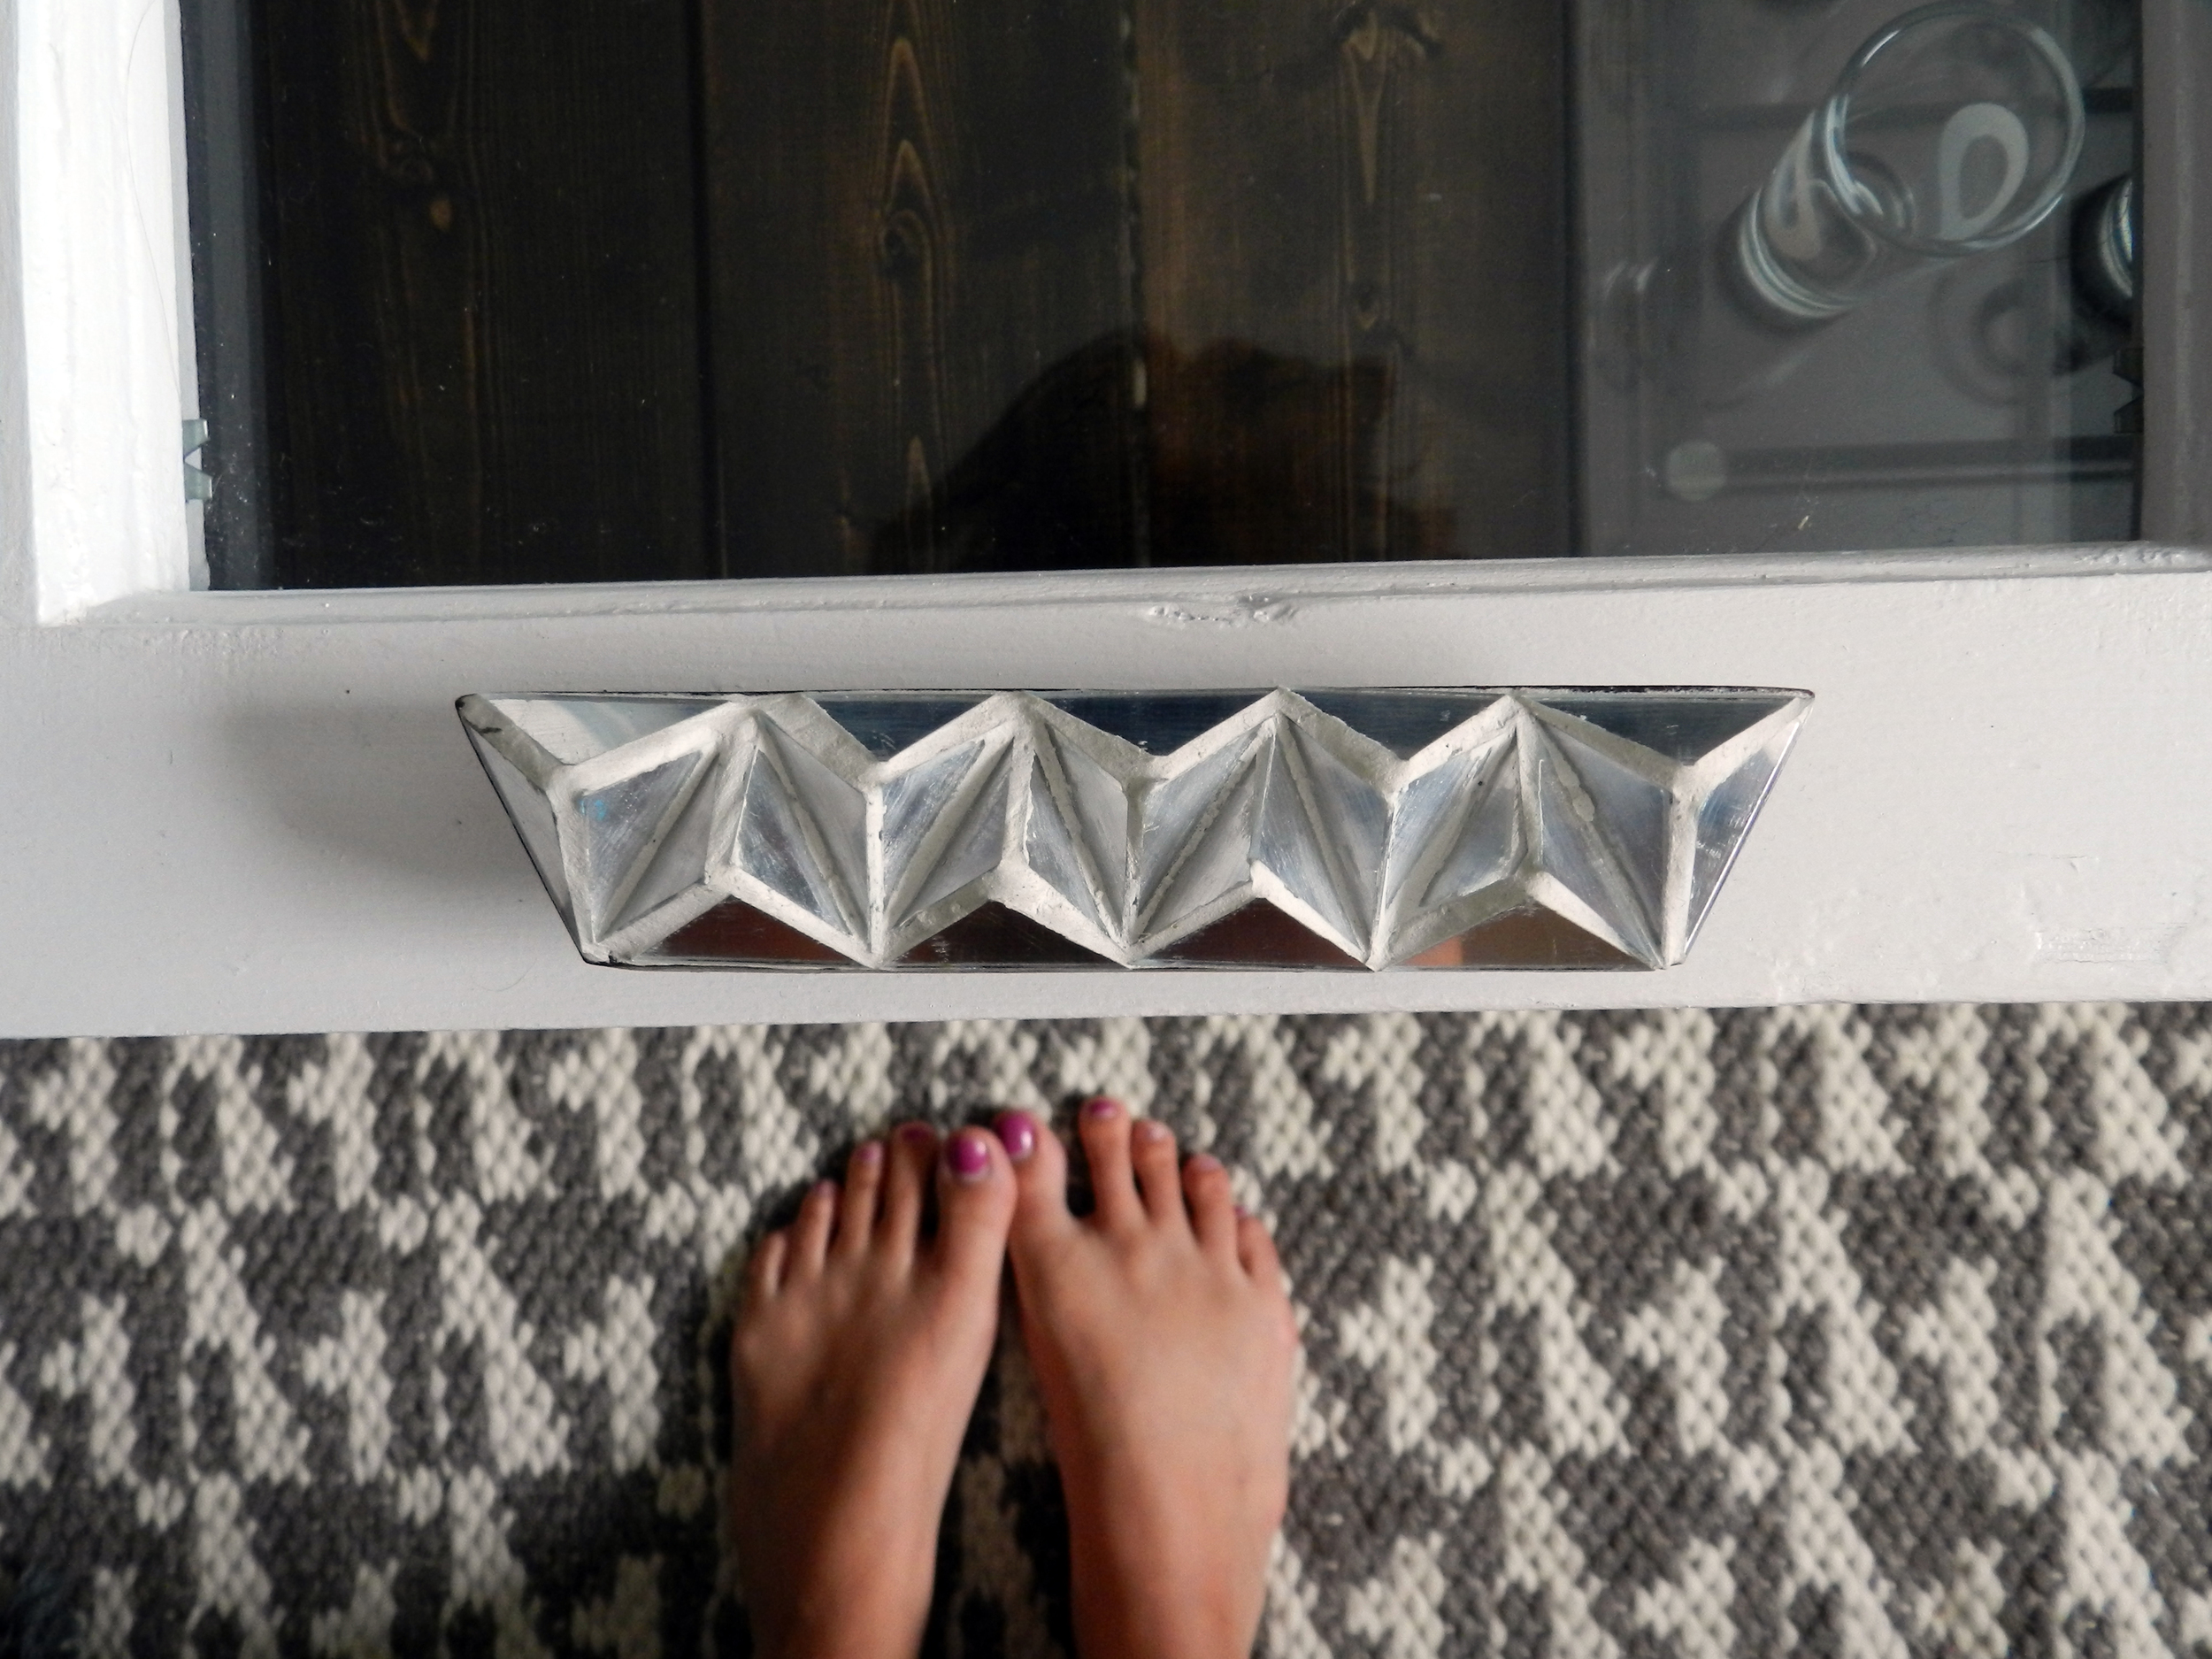
4. Choose the hardware - The hardware selected for your coffee table with not only add character, but it will also determine the look and feel. The great thing about this project is that you can pick type of hardware and not go wrong. Our IKEA legs {$16.00}and killer Anthro knob {$25.00} make this table a combination between modern and boho (just like Jas + I).
5. Voila! -Once everything is all put together you're going to be thrilled! Now, it's time to enjoy your coffee table.


 So instead of buying a new coffee table for a couple hundred dollars, we built this baby in less than $100! Thanks Home Depot for having us covered with all of our supply needs; you may or may not be one of my favorite places to go. And a big thanks to IKEA and Anthropologie for adding some flare to our latest apartment piece.
I loved getting to work on this project because not only did we design something fun and pretty for the apartment, but it was great bonding time with Jas. He built it and I made it look good. It's now something we use and look at every day, proud of our accomplishment. Be sure to comment below and show me your latest DIY coffee table! I can't wait to see.